|
|

Elegance
Simple surface with powerful features
|

Wireless RF Remote
Wall switches can also be controlled remotely
|
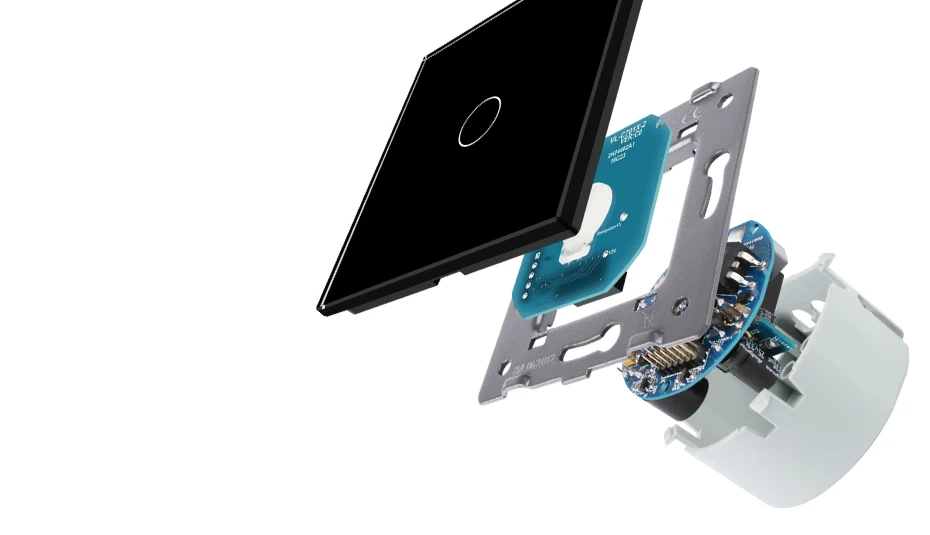
New Upgrade
With quality enhancements
|
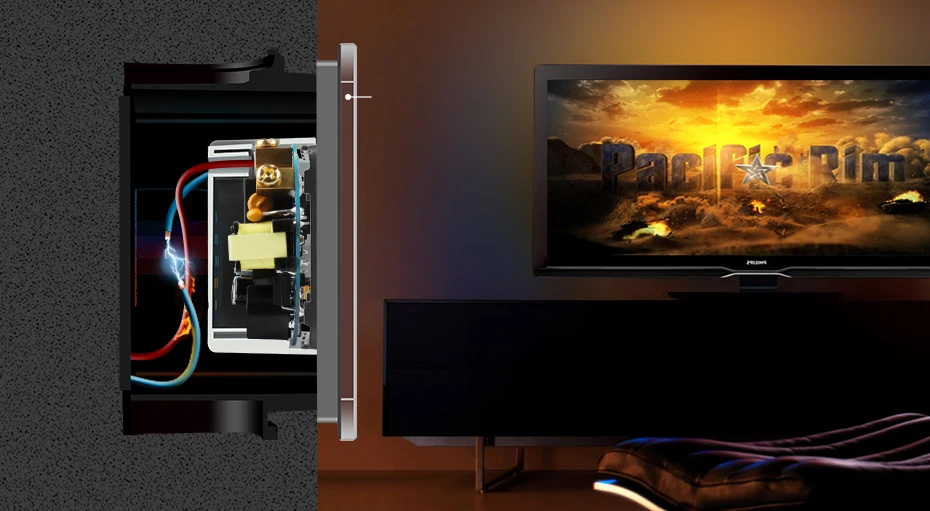
WARNING: Please do not attempt to duplicate this illustration
Fire Retardant
Strengthened protection for the short circuit of a electrical system
Toughened glass endures temperatures of up to 300 degrees Centigrade.
|
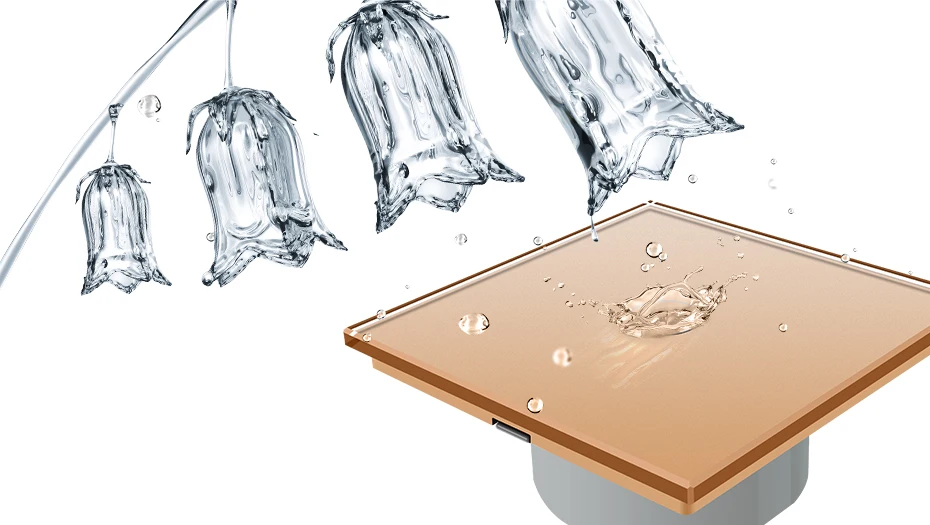
Damp Proof
Works even in humid conditions
|

Durability
Tempered glass resists deformation and fading
Easy maintenance and cleaning
|

Toughened Glass
Resists scratches and scarring
|

Please remember the sign of the Livolo brand and be ware of imitations
Backlight Indicator
Red is on; Blue is off.
|

Locate in darkness
Soft light and crisp sound
|
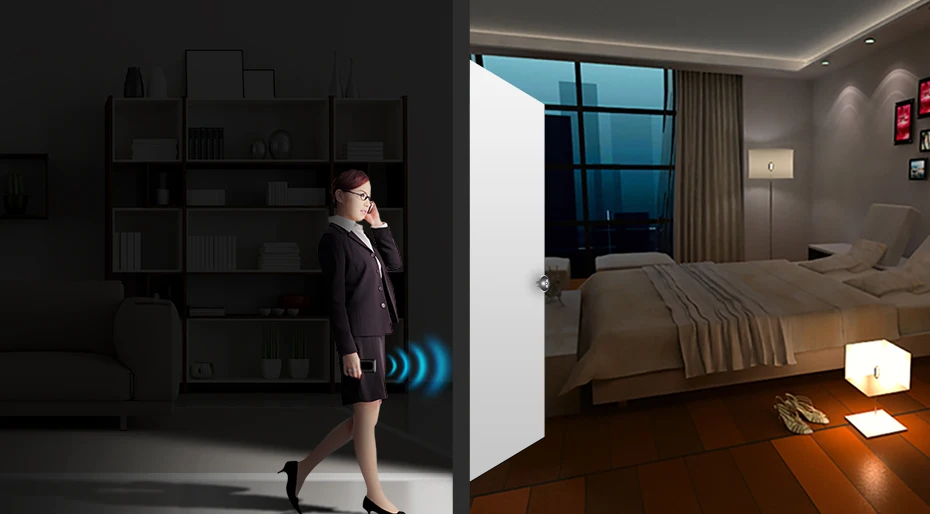
Wireless RF Remote Control
Makes the operation more convenient and life easier.
|
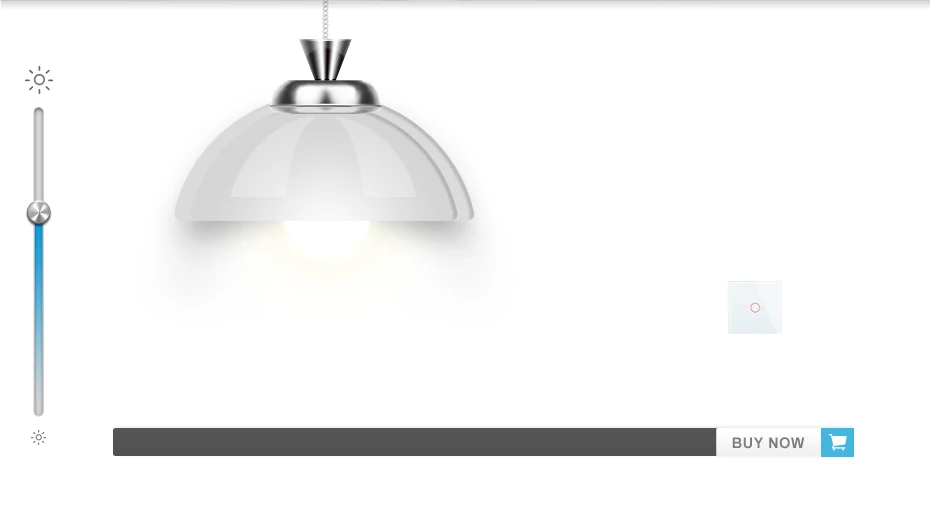
Touch Dimming
By holding the ring, the lamp will gradually dim up or down.
This switch does not have the dimmer function. Click, to add this feature.
|

Four Scene Option
Change the lighting remotely. Convenience at the press of a button.
THIS SCENE'S REMOTE FUNCTION CAN ONLY BE REALIZED WITH THE VL-RMT-03
|

No Electric Arc
No worry about an electric arc or the service life of the contacts.
Older types of switches are easier to have an electric arc.
|

Live line terminal
Lighting terminal
Single Live Wire
A breakthrough in modern switch wiring
|
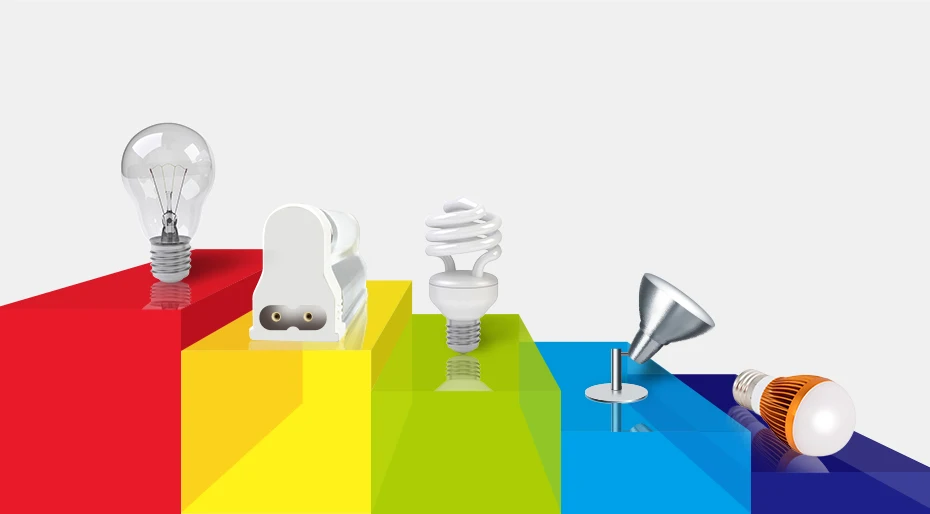
Wattage Compatibility
Range:1 to 1000 Watts
Incandescent
Fluorescent
Compact
Fluorescent
Spot light
LED
Lamp
|

Structures & Components
Crystal
glass panel
Touch screen
board
Electronic
chipset
Metal frame
Flame retardant
bottom base
|
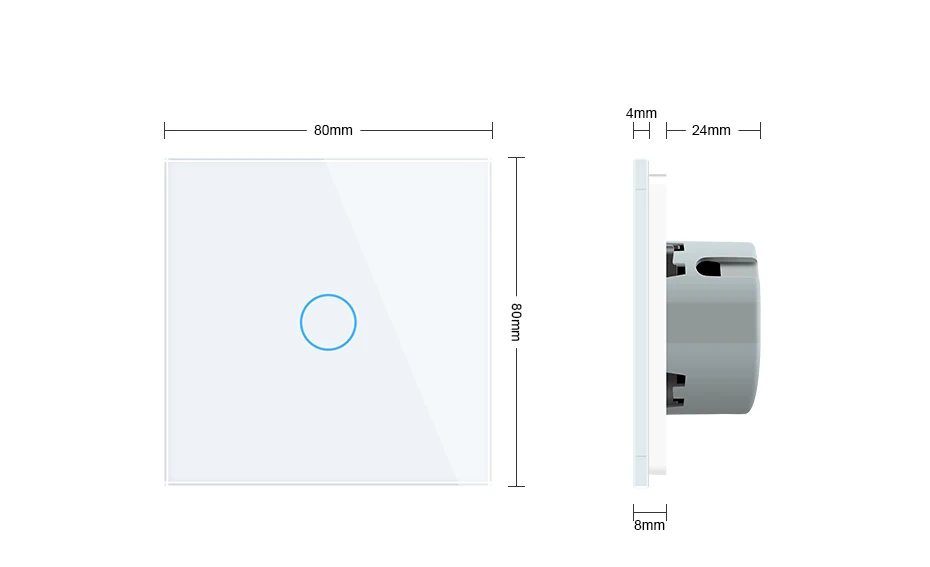
Technical Parameters
|
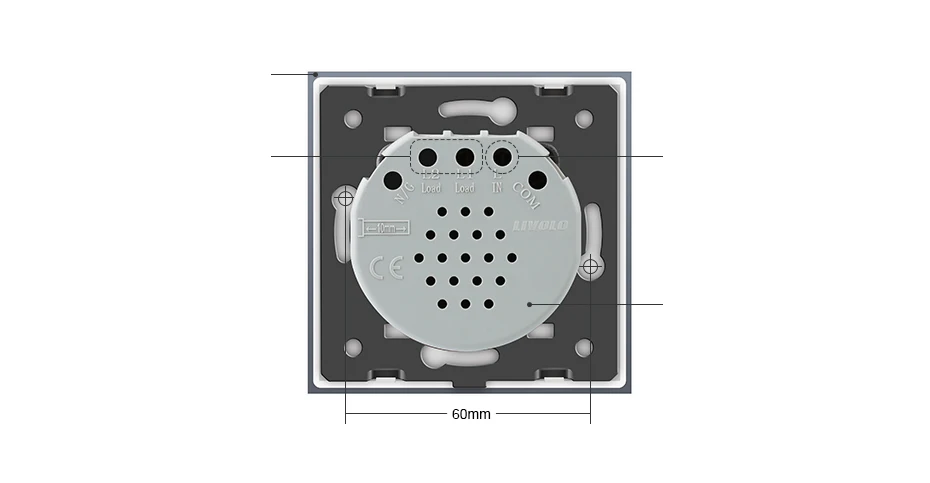
Crystal glass panel
Lighting wire terminal
Live line terminal
Poly carbon holder
Screw mounting slots
|
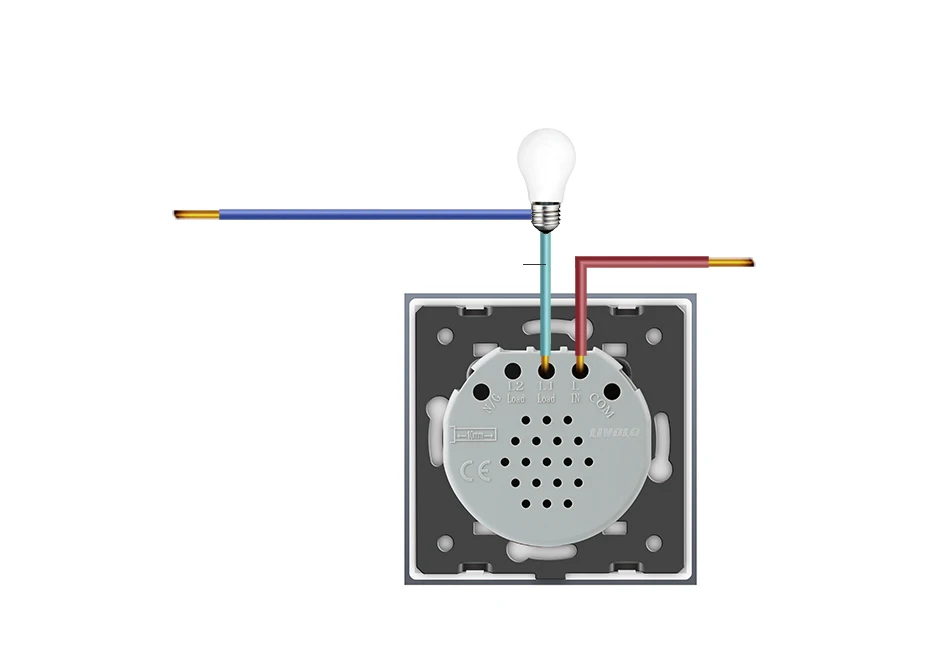
Neutral wire (N)
Lighting wire
Live line (L)
1 Gang + Remote
Installation instructions
Wiring diagram
|

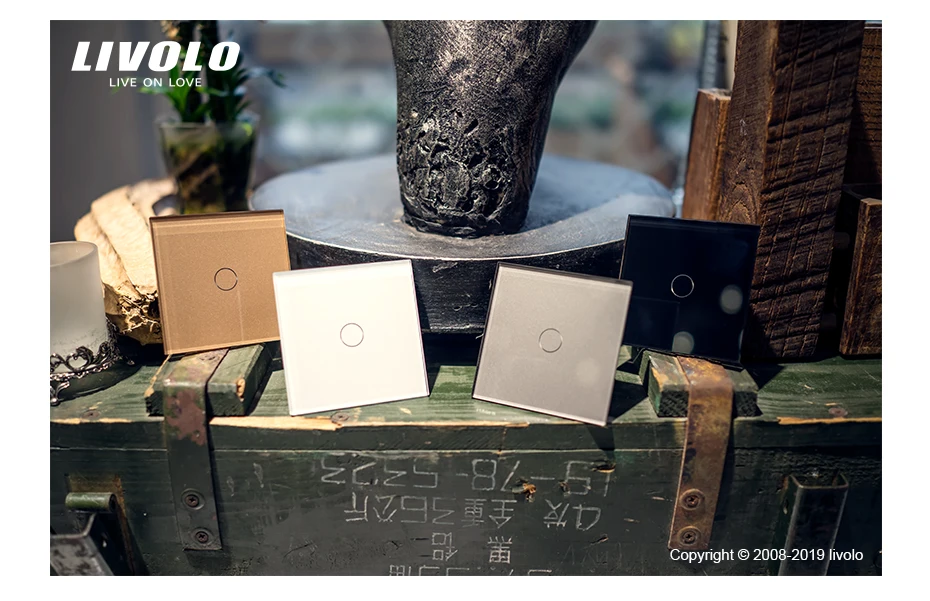
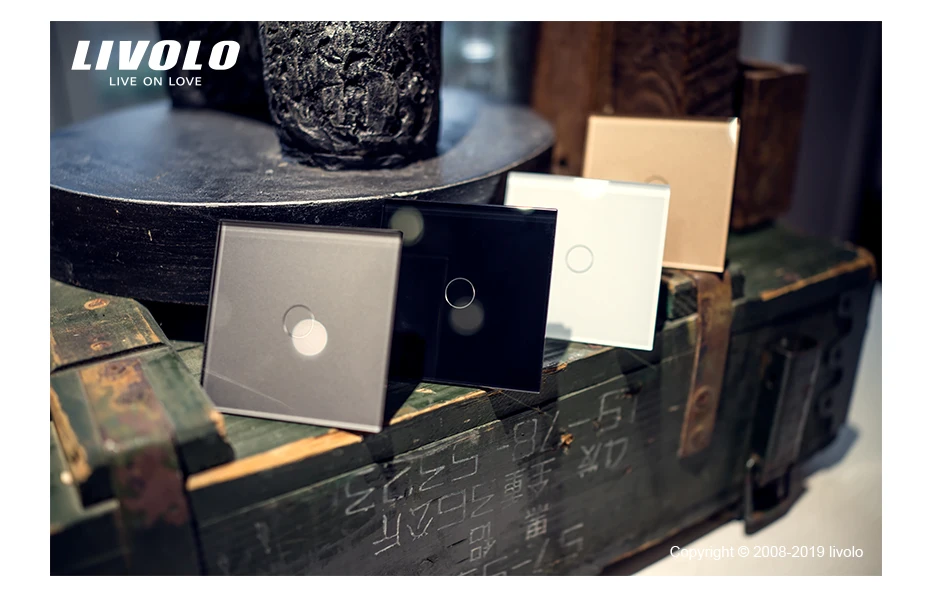
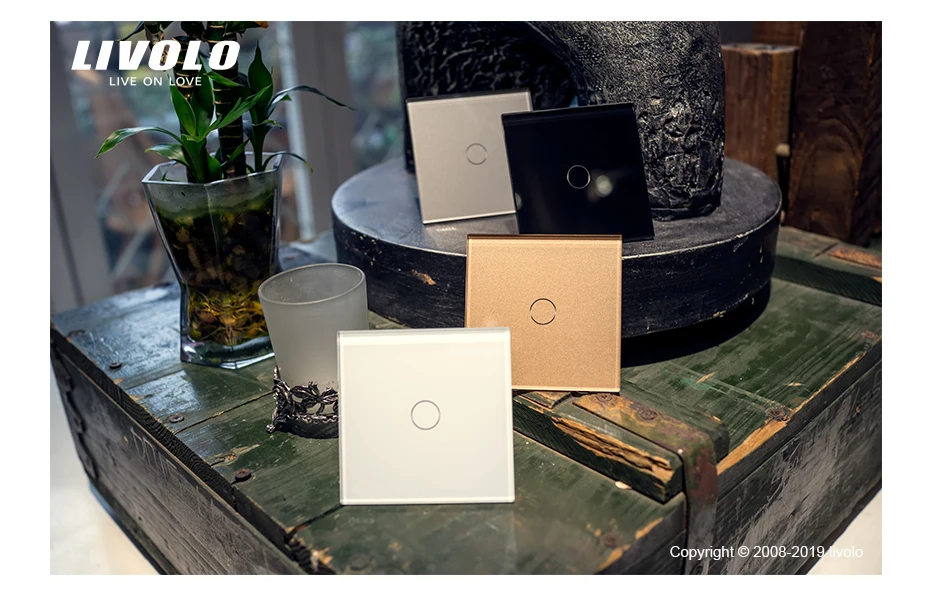
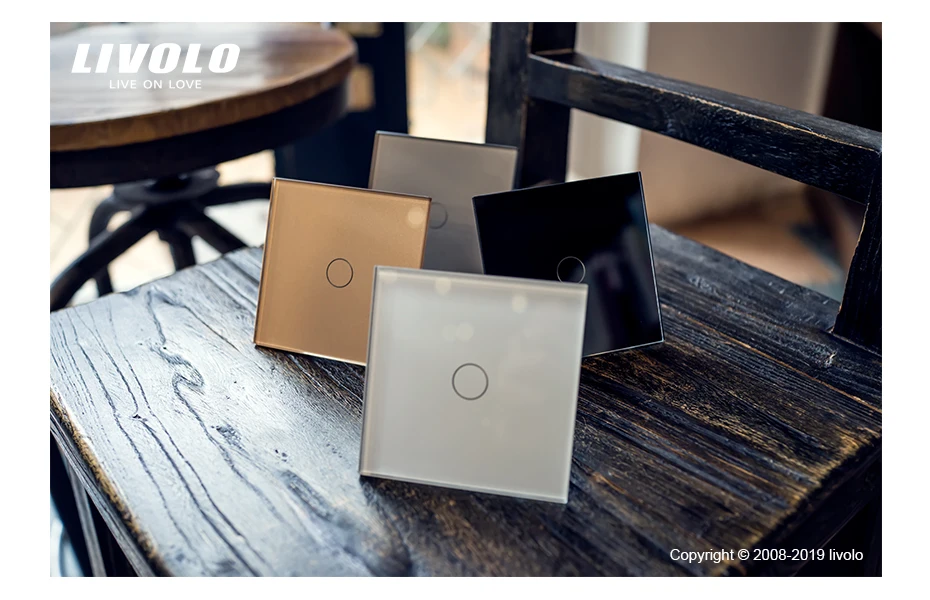
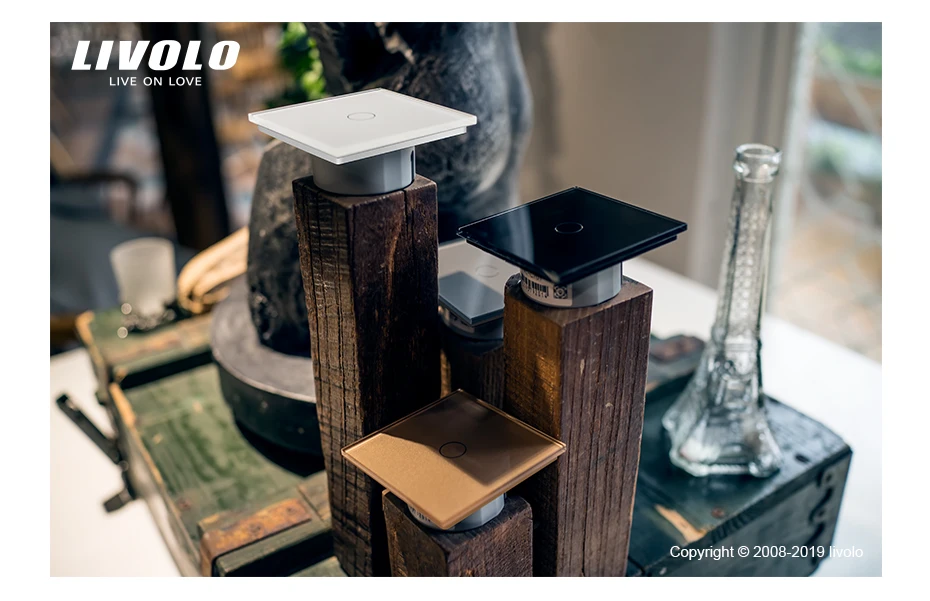
Live Photos
|
 |
 |
 |
 |
 |

Installation Diagram
Without Mounting Box. Click, to add this feature.
|

Connect the appropriate wires and tighten the screws.
Open the package and take out the product.
|

Click the touch panel into place and connect the power supply.
Tighten the screws to mount the product.
|
|


